Welcome to our new help center!
Settings
Updated May 8, 2026
The “Settings” menu option allows you to manage your profile or account in one place.
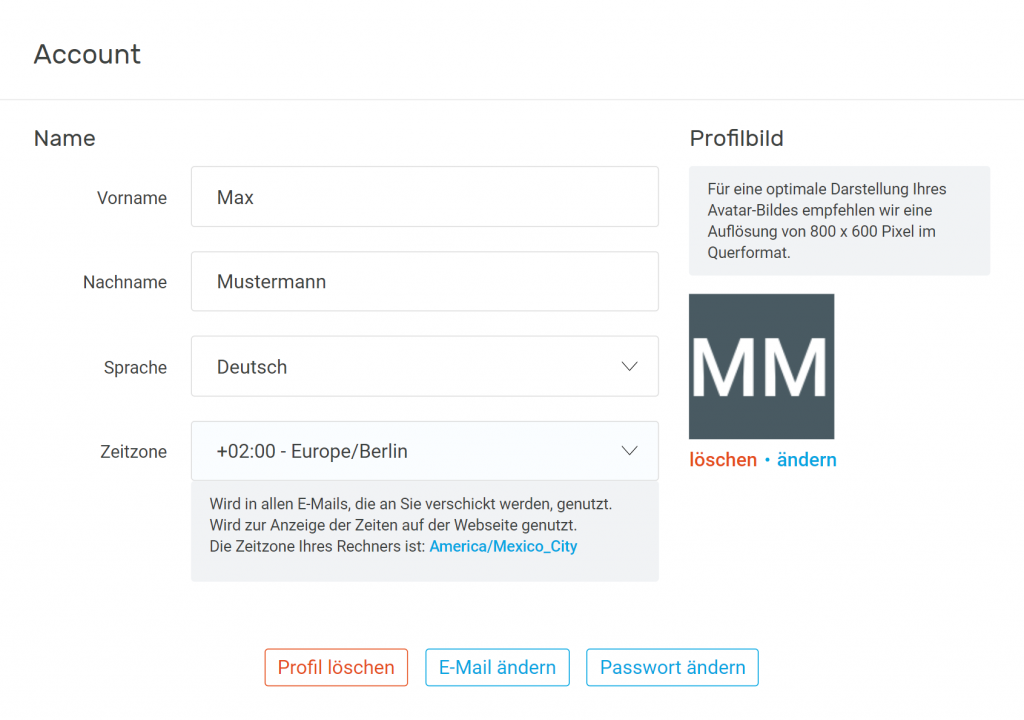
- account settings: Here you can change account data such as last name, first name and profile picture. If you do not upload a profile picture, a profile picture consisting of the initials of your name will automatically be added. If you deactivate your camera sharing during an event, the profile picture saved here appears. For an optimal display of your avatar image, the resolution of 800 x 600 pixels in landscape mode is recommended. At this point, you can also change your email address, password, language and time zone or delete your profile if necessary.
- SSO Links & Configuration: In the SSO settings, you can link your user email address to an SSO provider. Administrators can also manage the SSO configuration for the organisation here. This includes connecting SSO providers for login, enforcing SSO for all logins, and configuring SSO registration for webinars.
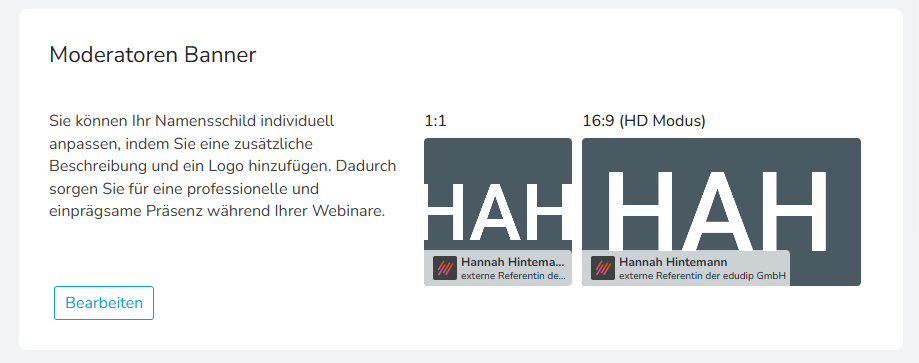
- Moderator banner: The moderator banner not only allows you to display your name in your video tile, but also to customise a banner with additional information such as your job title, company name and logo. For example, you can choose to display your company name or your role within the company beneath your name. In addition to a suitable title, you can also upload your company logo to create an even more personalised appearance.
- Assistant: Here you can choose to disable the tips from the assistant, Eddi, during the webinar.
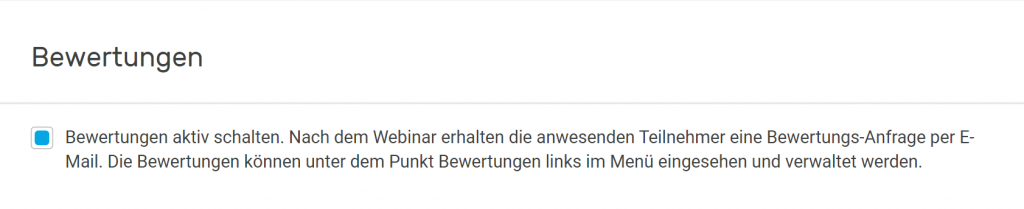
- Ratings: As an administrator, you can enable or disable ratings for all webinars here. If this feature is disabled, moderators will no longer be able to access the ratings in the webinar management section. If ratings are enabled in both places, webinar participants who attended will receive a rating request by email after the event.
- Email notifications: If email notification is active, you will be notified by email as soon as a new participant registers for your event.

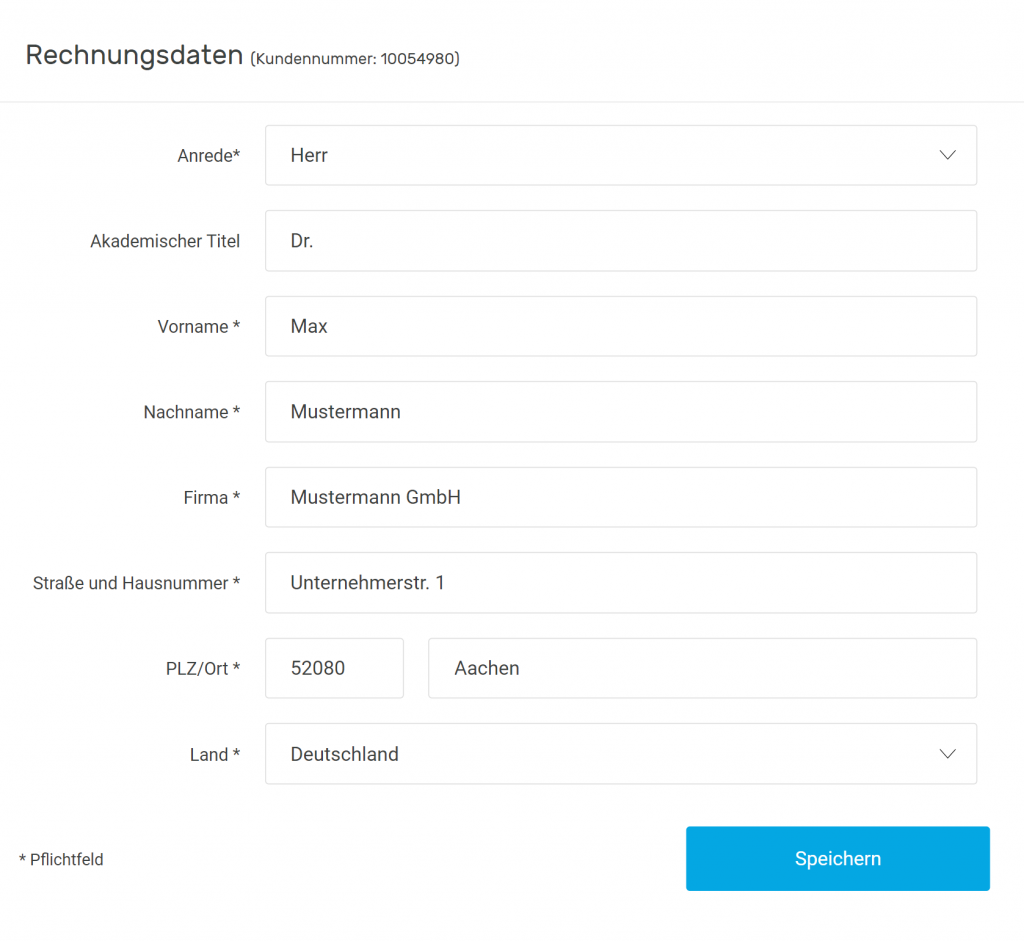
- Billing details: The main licensee can store and adjust the billing data here. You can also find your customer number here. Moderators do not have access to this area.
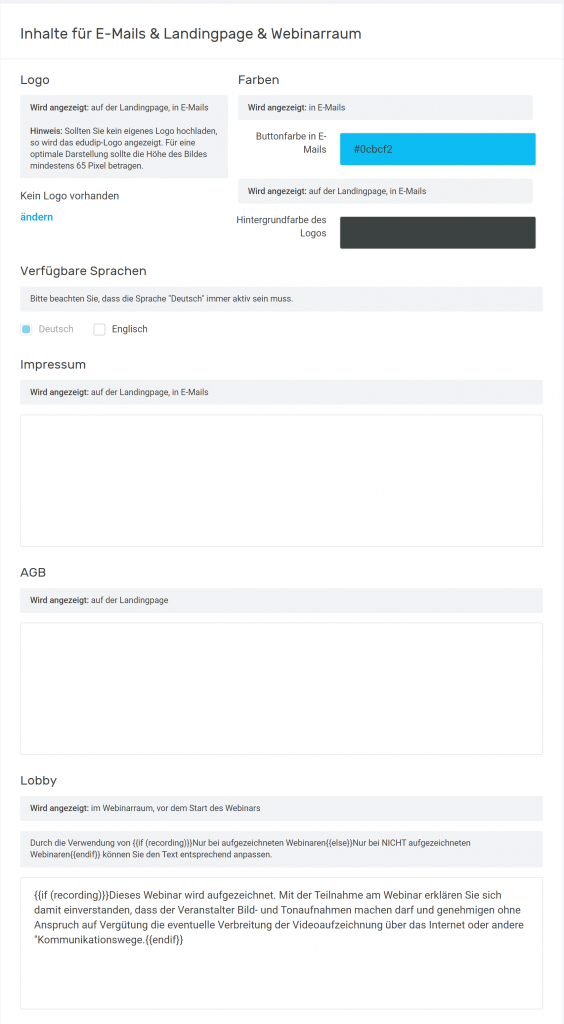
- Content of emails & landing page & webinar room: Here you can store your company logo and the desired colors to customize the branding of your invitations in your emails and on the landing page. If there is no setup, the logo and colors of edudip GmbH will appear in the invitation email for your event. In addition, you can adjust the available languages, your legal notice, your terms and conditions and the information displayed in the lobby here.
- Automated deletion: Here you have the option to have your participants' data automatically deleted after a certain period of time.

- Recordings: Here you can specify whether the recordings of the webinars should be visible to all users of the account or only to moderators.
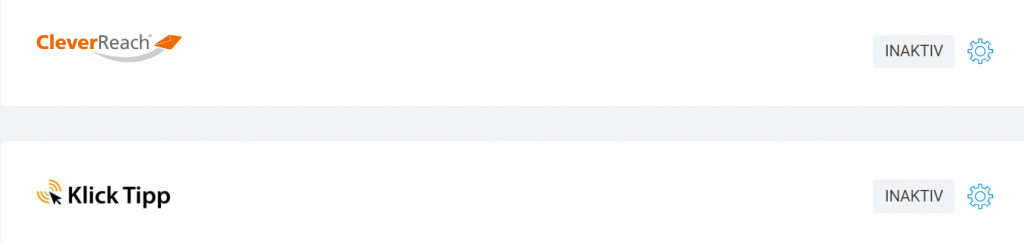
- CleverReach & KlickTipp: Setting up a CleverReach or KlickTipp interface allows you to send your own newsletters or automated mailings via these two newsletter providers. If you wish to integrate CleverReach or KlickTipp into edudip, you will first need an account with CleverReach or KlickTipp. Once you have created an account, please proceed as follows: Log in to your account with administrator rights and select ‘CleverReach Settings’ or ‘Klick-Tipp Settings’ under the ‘Settings’ menu item. In the window that now opens, please enter your own login details for CleverReach or KlickTipp and then select the option “Activate the interface here to synchronise participant data with your contacts in CleverReach/KlickTipp”. Now, every new webinar participant who registers will be added to CleverReach/KlickTipp. Important regarding data protection: If you set up a double opt-in request, these participants will receive a message from CleverReach/Klicktipp in advance, in which they can agree to or decline the sending of your newsletter.
- API tokens: By integrating the edudip Webinar API, you can manage edudip webinars seamlessly from within your CMS or LMS. An API is a programming interface that allows software to connect to other systems or programmes. Our detailed API documentation provides a guide to integration. API tokens are used for authentication, ensuring your login details remain secure. To set up the integration, scroll down to the ‘API Tokens’ section in the settings and click on ‘Generate additional API token’. A form will then open. Select the user for whom the API token is intended. We recommend selecting a user who also has the rights to manage your webinars. Then click on “Generate API token”. Once the window has closed, the new API token will be displayed. Copy this to your clipboard and paste the copied API token into the relevant field in your system. You now have full control over your webinars and data.
- Webhooks: Webhooks are automatic notifications sent via HTTP that are triggered when an event occurs in an application. They enable data to be transferred instantly to other systems without the need for constant queries, and are well suited to integrations and workflow automation. Under the ‘Webhooks’ menu item, you will find a list of existing webhooks and the option to add new ones.
- Room in your own design: Under ‘Edit’, you can customise the colours of your digital webinar room to suit your preferences or match your company’s branding.

- Webinar categories: Here you can assign your webinars to different categories. If you offer various webinars, you should create categories beforehand that you can assign to your online seminars. This makes it faster and easier to sort, edit, and manage your webinars.
